Showing posts with label craft/DIY. Show all posts

Monday, January 5, 2015

Snow Day Fun With Kids!

Ways to Celebrate a Snowy Day Off


Here in the Northeast, Winter can be pretty brutal!

I just happen to be from one of the most notorious snow cities in the country (thanks, Blizzard of '77 for your endless reputation). My family and I live just north of Buffalo, NY, and we certainly get a full and long winter season!

This year, we had a "Snovember" storm just before Thanksgiving that shut down schools for a week and caused some towns to declare a state of emergency. We found ourselves with a mini-vacation thanks to all of the snow days, which was awesome (yoga pants every day, thankyou!), but the kids got a little restless. We had to come up with some fun things to do together, which can be really fun - nothing like finally tackling a few Pinterest boards!
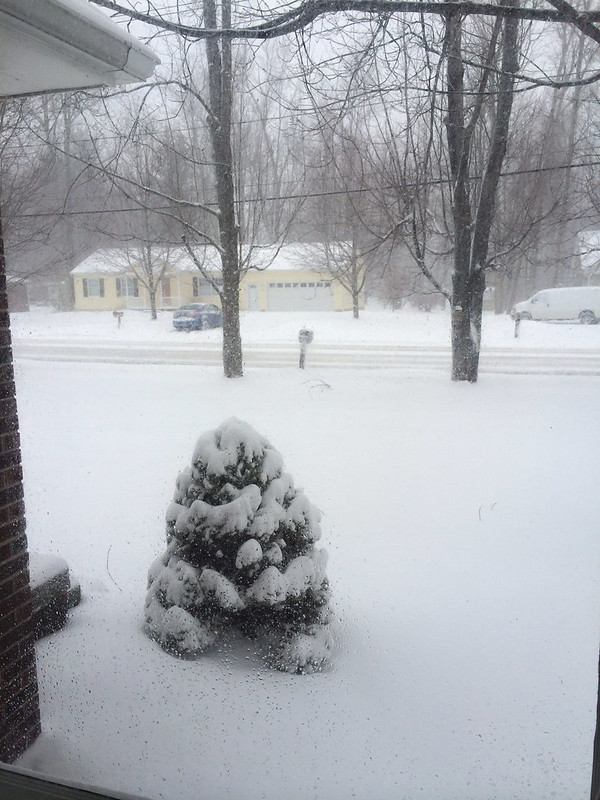

The rest of our winter has been pretty lame so far (we've got at least 3 months to go, though...so anything can happen, still.) There was a day in very early 2014 that we were snowed in (see left) and made a day of it, and today I'm sharing what we did so you can create some spontaneous fun with your kids on their next snow day!

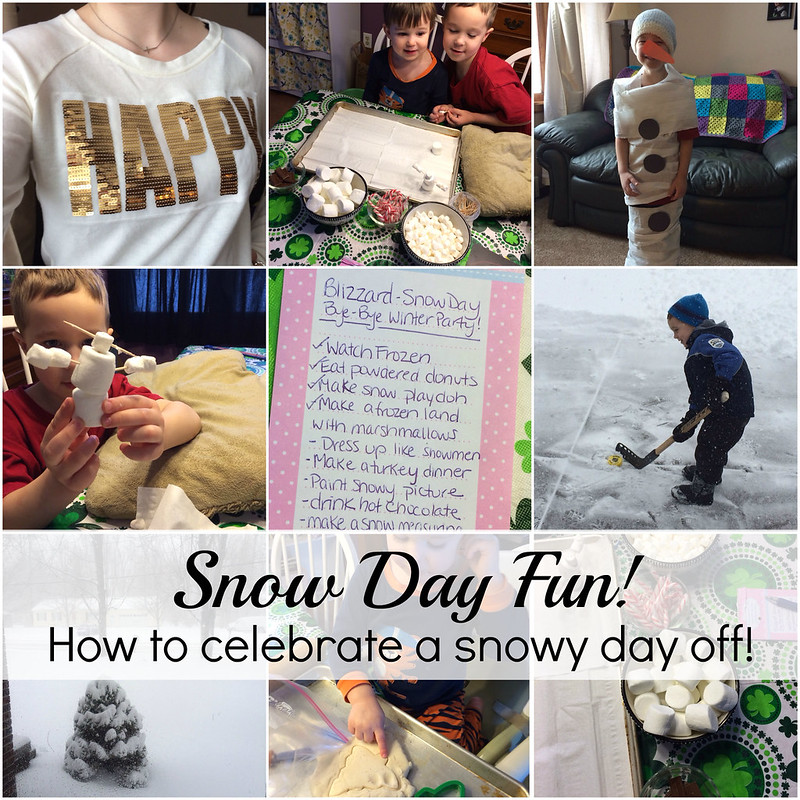
The first thing we did was make a list of all the things we wanted to do that day:


As you can probably tell by the tablecloth and the name of the list, this storm hit us at the very end of our Winter season. Around the Buffalo area, we're usually all rolling our eyes at the snow in the March forecast and huffing and puffing as we bundle up just to get the mail, but we embraced the snowfall one last time before it stopped falling for most of the year.

Before we got into all of this fun stuff, we put a yard stick by the back door with a pen and paper, and every hour we measured the snowfall. The goal was to make a bar graph out of our collected data, which is a really great activity for a school-age child, but my little guys were a bit too young to appreciate that part. If you want to inspire your elementary-aged kids to do a little math on their spontaneous day off, that's a fun way to do it!

Our early morning activities included putting Frozen on and doing our more arts and crafts activities. I found a homemade playdoh recipe on Pinterest and added some silver glitter to it to make it look more like snow. I put it on cookie sheets with some cookie cutters and other kitchen tools for the kids to play with.

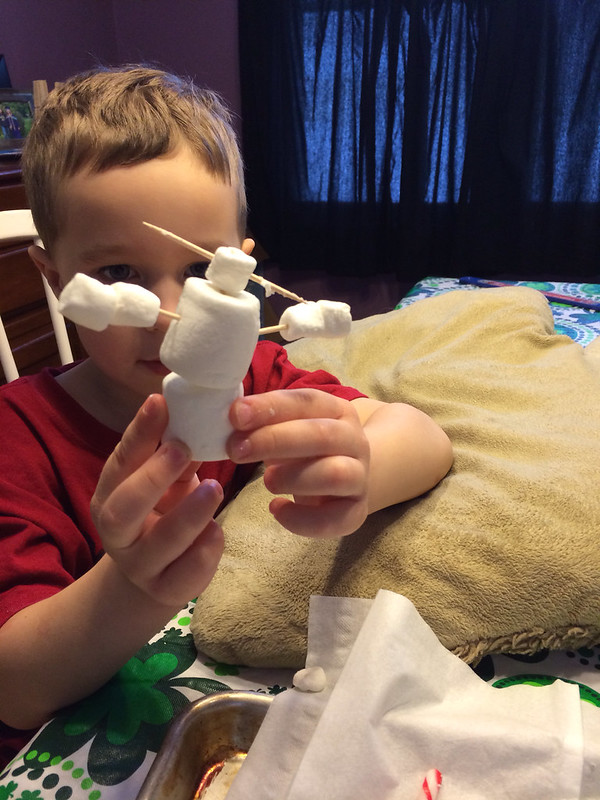
I also set out some yummy left over holiday treats like marshmallows, chocolate, shredded coconut, and candy canes for the kids to build snow people and a snow village with toothpicks. They loved this stuff! (Also, not entirely sure why that snow person had a stick through his head.)
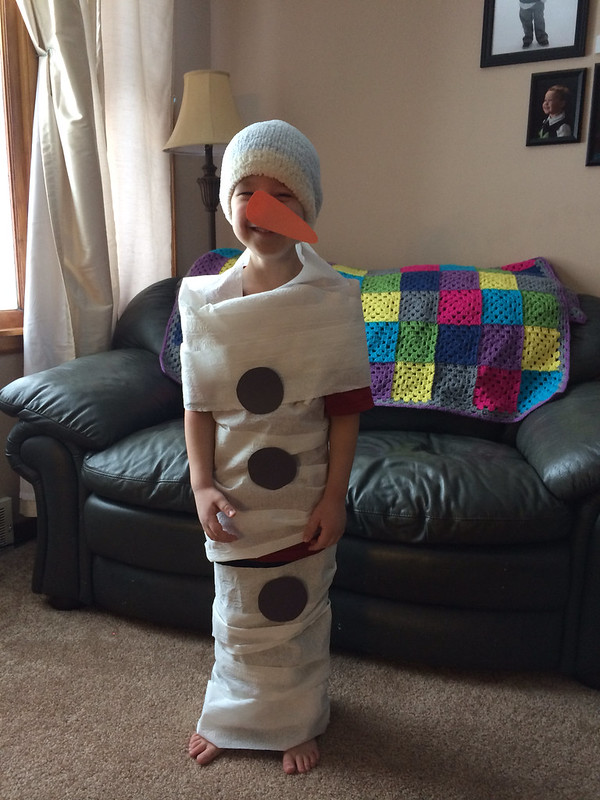

Next up? Turning my son into a snowman! I cut out an orange nose and some black "coal" buttons out of construction paper, and the rest of the costume was made out of toilet paper and a fuzzy blue hat. He giggled while my middle son and I wrapped him up like a mummy, taped the paper pieces onto him, and told him to hold still so we could take a picture. He thought it was hilarious that he looked like Olaf!

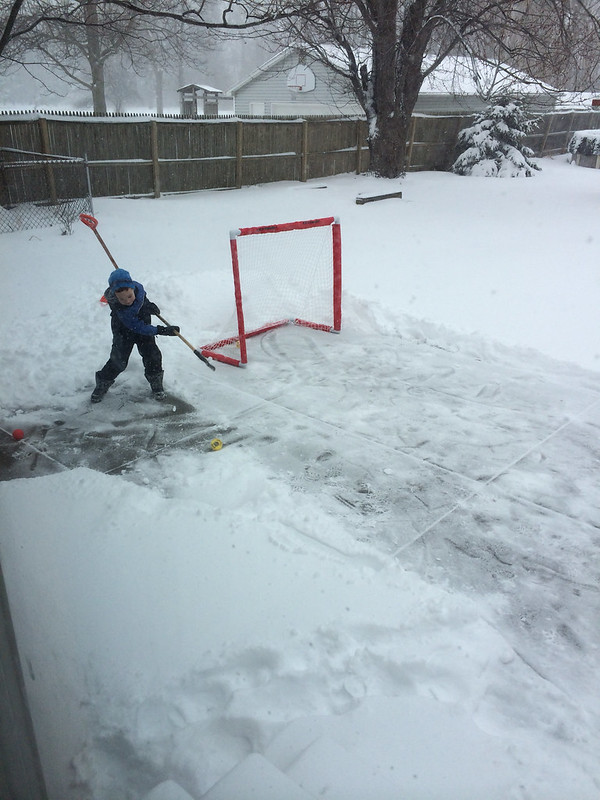
My husband telecommutes, and on snow days or whenever there's iffy weather, he will stay here and work from home. On this day, he used his lunch break to take them outside and play hockey while it was still snowing. It's always a good idea to find a way to be active when the kids are all cooped up, and what better way than to take advantage of the playground the snow naturally creates? I'm so glad he was home to do that with them since I was confined to the house, keeping our 5 month old warm!

When they came back in the house, we checked more items off our list by drinking hot chocolate with mini marshmallows and playing a board game together.


Then I made dinner, which we were calling "Snowsgiving". I'm guessing that we knew the storm was coming and I probably grocery shopped for something warm and comforting for dinner the day before. I don't always have the supplies for a Thanksgiving style dinner on hand. We did things slightly differently than we usually do for the holiday, but it was perfect!

I don't remember if we ever got around to painting a snowy picture, but I remember that my plan was to sketch houses on dark blue construction paper and have the kids cover everything with white "snow" paint.

Telling you about this day makes me miss it! We had so much fun, and my oldest son, who lives for celebrating everything, was so full of excitement - jumping up and down as we completed each piece of the list. It was such a great way to make a family holiday out of an annoying March snowfall!

Try something like this next time the kids have a snow day, or any other winter day!

Have a great winter! xx


Jenn is a mom of 3 boys living near Buffalo, NY, and blogs about her life and hobbies on her blog, Rych In Love. 


Connect with us!
Twitter Pinterest Facebook Bloglovin

Thursday, December 4, 2014

D.I.Y. Christmas Countdown


Hi everyone! It's Karen again with another holiday themed D.I.Y. Obviously we are in the throes of the holiday season. Shopping, card writing, parties, eating and more shopping. Since I have a little one, I try and do little holiday projects with her to try and teach about whatever we are celebrating. So today I'm sharing a D.I.Y, Christmas Countdown.

This is a pretty simple craft and of course it was inspired by something I saw on Pinterest. (Isn't that where most inspiration comes from?) And this is something that was simple enough to do with my daughter. Sold!

Here's what I used for our Christmas Countdown:

- Green felt that I bought a large square of at a craft store for about $2.00
- Tiny stockings that I bought at a party store for about $1.50 per bag. Each bag had 12 stockings.
- Glitter glue that I bought at the Target dollar aisle...my favorite spot.
- Pom poms
- Hot glue and scissors

Here's what I did:

I drew the tree pattern onto the felt freehand. Don't worry if it's not perfect, especially if you are doing this with your kid! Then I cut out the tree with my sharp craft scissors. Next we spread our little stockings out on the table and, with the glitter glue, numbered our stockings from 1 to 23.
(Why 23? Because I'm from an "off-the-boat" Italian family and our celebration takes place on Christmas Eve. So we have always ended our countdown with the 23rd. Obviously you can number yours differently.)
My daughter is only three so we did our glitter numbers together. Sometimes they came out a little splotchy but we didn't mind. After that, I used hot glue to attach each little numbered stocking to our tree. She pointed to where each one should go and I glued. We didn't even wait till our glitter numbers were completely dry and we still didn't smudge any! Then we added our little pom pom decorations, which she mostly did. I helped her with the hot glue and she put them wherever she wanted. When everything was dry, I hung up our Christmas Countdown on a door in our kitchen so we would see it first thing every morning and countdown the days. For a marker, I just used a pop stick with some more glitter sprinkled on. The more glitter, the better in our house (at least for my daughter and I). The marker slips into each little stocking.

And that's pretty much it! An easy D.I.Y. Christmas Countdown that really has been a big hit this year. My daughter gets excited to move the marker everyday because she knows it's one day closer to Christmas!


Connect with us!
Twitter Pinterest Facebook Bloglovin

Thursday, October 9, 2014

Halloween DIY: Witchy Candy Jars


Is anyone else amazed at how fast Halloween is approaching? It's only a few short weeks away, and let's face it, the weeks fly by in no time.

Today I'm sharing a little Halloween DIY that I made with my daughter. It was inspired by Halloween crafts I saw on Pinterest (of course). I'm one of those annoyingly crafty people. You know, always with the glue gun and always making something for any occasion. My craft stock supply drives my husband crazy. Anyway, this is just a cute little Halloween craft that takes no time or craft genius at all.

These witchy candy jars are cute for Halloween party favors, a teacher gift, or just as decoration. All you need are a mason jar (any size), black construction paper, ribbon, scissors and some strong glue (I used my trusty glue gun).


Here's what you do:
  1. Trace a circle using the top of your mason jar and cut out a circle. (You can see mine is not perfect.)
  2. Cut out a half moon shape slightly larger than your circle. This will be the top of your witch hat.
  3. Glue the circle to the top of the mason jar. This is your hat brim.
  4. Fold the half moon into a pointed cylinder and glue together.
  5. Put glue on the bottom of your pointed cylinder and attach to the hat brim. Now you have your witch hat.
  6. Glue your choice of ribbon along the edge of the mason jar lid. This will hide it. I also cut a thinner piece of ribbon and glued it to where the top of the witch hat meets the brim.
  7. Make sure everything is dry and secure before unscrewing the top and adding your candy. I used these candy corn flavored M&M's...yum.

And there you have it! See, not so hard. If you decide to give it as a little gift, be sure to accept your craftiness praise. Wishing you all a very Happy Halloween!


Connect with us!
Twitter Pinterest Facebook Bloglovin

Monday, June 30, 2014

Upcycle a Toy Horse into a Garden Sculpture!

Today's guest spot comes from Robin who writes over at Redo It Yourself Inspirations!

In Robin's post she shows a fun way to upcycle an old toy horse- by turning it into a garden sculpture!  What an awesome idea for re-purposing an old toy!

Check out the before and after:


Head over to her blog Redo It Yourself Inspirations to see the full post complete with directions on how to create this sculpture yourself!

Connect with us!
Twitter Pinterest Facebook Bloglovin

Monday, April 14, 2014

Guest Post: 6 Creative Ways to Use Washi Tape!

Today's guest post comes to us from Faith who writes over at Design Fixation. Faith shares some easy DIY ideas for using washi tape!


For Christmas I was lucky enough to receive a gigantic washi tape organizer filled with washi tape in every color. (Thanks Mr. & Mrs. P!) With all that beautiful tape just begging to be enjoyed, I started brainstorming creative ways to use it. Here's what I've come up with....


Make your paperclips stand out! Use striped ones for a new twist. And you could try 
cutting the washi tape straight across or on the diagonal for a different look.


Did you ever pretend to cut your finger when you were a kid just so you could wear a 
pretty bandaid? You'll want to do that with these black and white geometric ones too.


Here's an instant name tag for your wine or cocktail glass. Or you can 
affix a piece of washi to the side instead, if you're using a rocks glass.


No need to use those boring old solid colored bookmark flags anymore... 
just fold a piece of washi tape over onto itself, leaving a bit of the 
sticky side out to affix to the book or magazine page.


Same concept as the previous drink name tag idea, but different 
execution... using paper straws. You could also write a cute 
message on the flag if you're hosting a themed party.


Try using colored toothpicks for some extra pizzazz. These are great 
for labeling cheeses, or any food really, when you're entertaining.

Have you tried any of these ideas? It's fun to try new approaches to classic ideas... Be sure to leave a comment with any other creative ideas that you've come up with.


Connect with us!
Twitter Pinterest Facebook Bloglovin